


Introduction
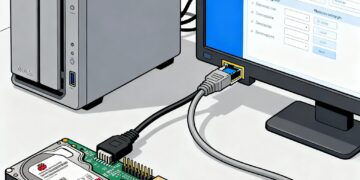
Transforming your Raspberry Pi into a home NAS (Network Attached Storage) is one of the most practical and rewarding DIY tech projects—ideal for backing up files, streaming media, or sharing documents across your home network. This guide will walk you through the entire process of installing OpenMediaVault (OMV) on a Raspberry Pi, preparing disks, setting up shares, fixing common issues, and securing remote access with a VPN.
Prerequisites
- Raspberry Pi 3/4/5 (4 recommended for best performance)
- SD Card (16GB minimum for OS, 32GB+ recommended; larger if storing files on SD)
- External USB Hard Drive/SSD (strongly recommended for storage)
- Ethernet cable and/or Wi-Fi network
- Computer for initial setup
Step 1: Prepare Your Raspberry Pi OS
- Download the latest Raspberry Pi OS Lite (32-bit Bookworm/Bullseye) from the official site.
- Flash the image to your SD card using Raspberry Pi Imager or balenaEtcher.
- Insert the SD card into the Raspberry Pi and power it on.
Step 2: Initial Network Setup
- If you use Ethernet (recommended for NAS): Plug into your router, boot up.
- If using Wi-Fi, connect with: bash
sudo raspi-configSet SSID and password under Network Options. - Check your IP address: bash
ip addr
Step 3: Update Your Pi
Updating ensures software compatibility:
bashsudo apt update
sudo apt upgrade -y
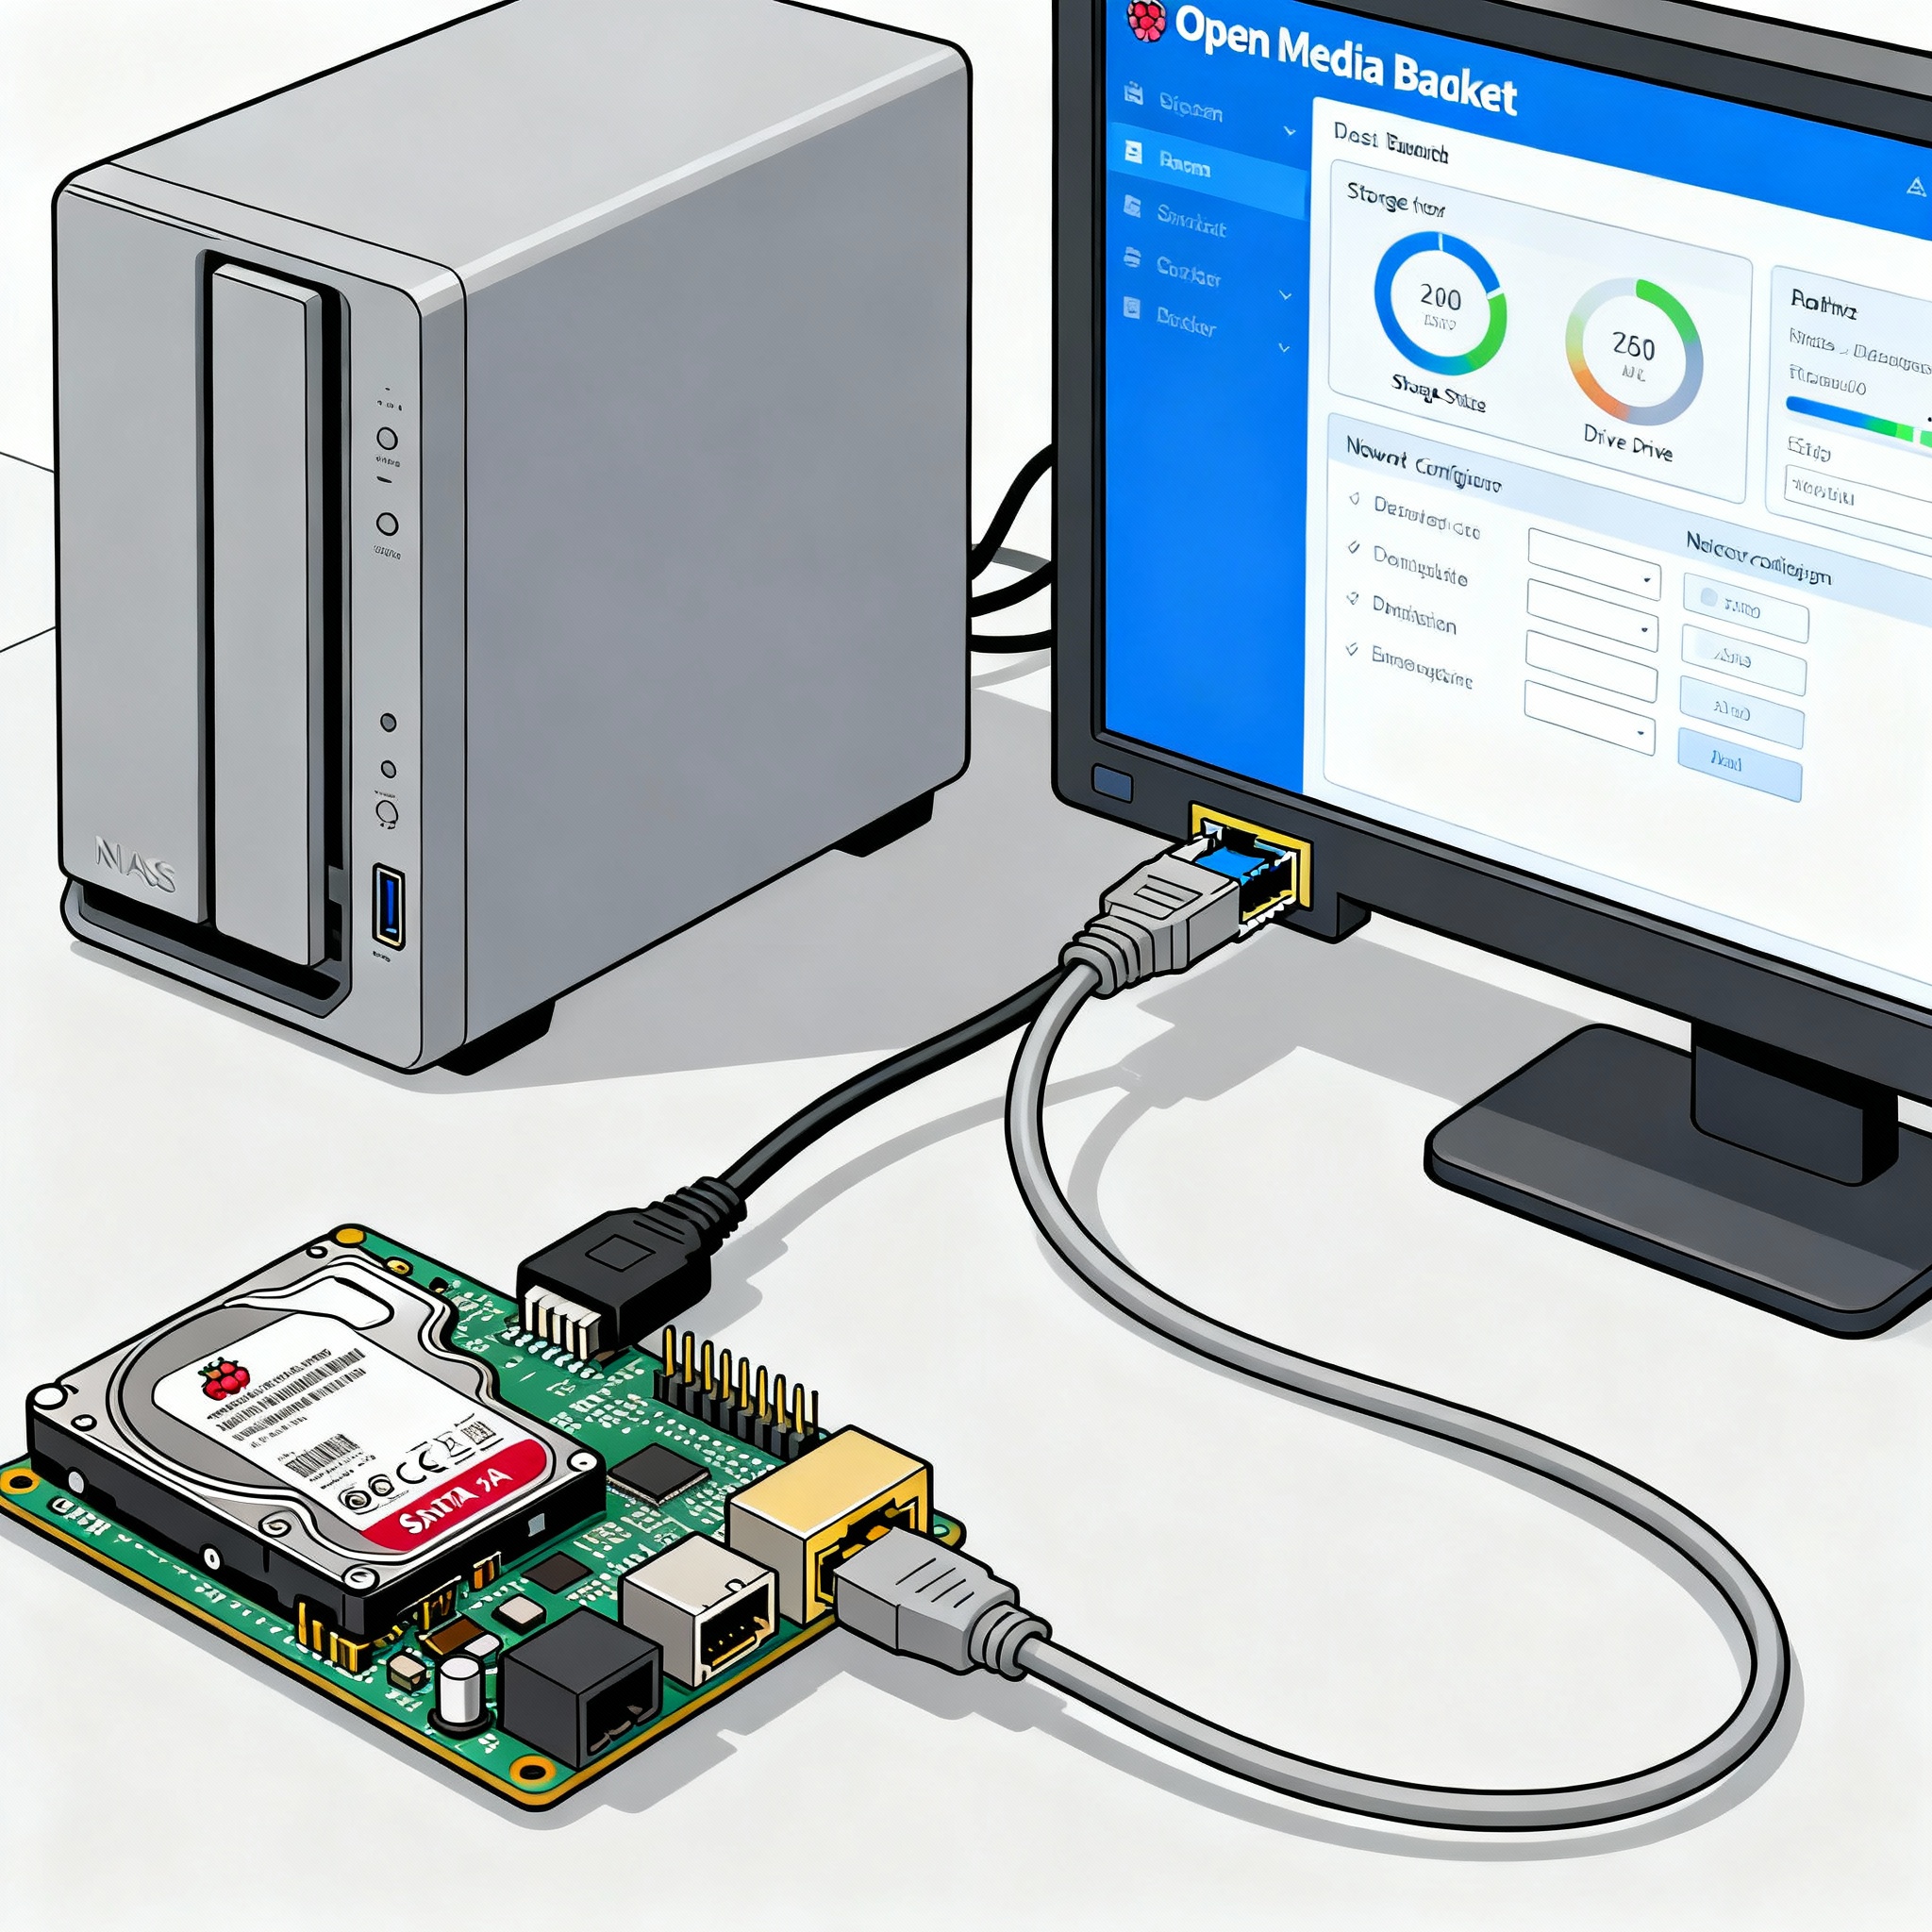
Step 4: Install OpenMediaVault (OMV)
Note: OMV 6.x is stable on Bookworm and Bullseye. OMV does not support “Trixie” at this time.
1. Start the Installation
bashwget -O - https://github.com/OpenMediaVault-Plugin-Developers/installScript/raw/master/install | sudo bash
Important: If you get an error likeUnsupported version. Only 11 (Bullseye) and 12 (Bookworm) are supported.
re-flash with the correct OS version.
2. Finish and Reboot
After installation, OMV can be accessed from another device:
texthttp://<raspberrypi-ip-address>
Default login:
- Username: admin
- Password: openmediavault
Tips:
- Set a strong admin password on first login.
- Set your locale/timezone in the Network/General settings.
Step 5: Disk Partitioning and Formatting
For best performance and safety, use an external USB storage device for your data. Avoid using the SD card as a shared partition.
Add a Data Disk:
- Partitioning (using Desktop or GParted Live):
- Attach your disk to a PC, open GParted, and create a single ext4 partition.
- Plug into Raspberry Pi.
- Mount Disk in OMV:
- Go to
Storage > Disksand select your new drive. - Wipe if necessary and Apply.
- Go to
Storage > File Systems, create and mount a new file system.
- Go to
(Advanced) Partitioning the SD Card
Not recommended for beginners. If you must split your SD card:
- Shrink the root partition with GParted Live (not possible on a running system).
- Create a new ext4 partition in the unused space.
- Mount and use for non-critical shares only.
Step 6: Create a Shared Folder
- Go to Storage > Shared Folders.
- Click Add.
- Select your mounted external disk, type a folder name, and set a path.
- Save.
Step 7: Enable File Sharing (SMB/CIFS)
- Go to Services > SMB/CIFS.
- Enable the service.
- Under the Shares tab, add your shared folder.
- Set permissions (read/write as needed).
You can now access your NAS from any Windows, Mac, Linux, or Android device on your network.
Step 8: User and Permission Management
- Go to Access Rights Management > Users to add new users for secure access.
- Assign users to groups and shared folders as needed.
Step 9: Remote Secure Access (Optional)
Don’t expose SMB or the OMV web UI directly to the internet!
- Use a VPN for safe remote access.
Example: Surfshark VPN on Raspberry Pi (OpenVPN)
- Install OpenVPN: bash
sudo apt install openvpn unzip -y - Download configs: bash
wget https://surfshark.com/api/v1/server/configurations -O surfshark_configs.zip unzip surfshark_configs.zip -d surfshark_ovpn - Create
auth.txtin the configs folder with: text<your_service_username> <your_service_password> - Edit the Korea
.ovpnconfig to add: textauth-user-pass auth.txt - Connect: bash
sudo openvpn --config kr-seoul.prod.surfshark.com_udp.ovpn - Your external IP should now show the VPN location (check with
curl ifconfig.me).
Step 10: Troubleshooting Common Problems
OMV/Web UI Not Loading
- Make sure you are using the Pi’s correct IP address (
ip addr). - Ensure OMV is installed on Bullseye or Bookworm, not Trixie.
No Disk Appearing in OMV
- Rescan disks in
Storage > Disks. - Make sure disk is partitioned and formatted (ext4 is best).
- If using SD card—avoid, or create a new ext4 partition as described.
File System “Locked” in GParted
- Partition is mounted (in use). Unmount it before resizing.
- For root partitions, only resize with the card removed and attached to another PC with GParted Live.
Package Update Fails or No Internet
- Check with: bash
ping -c 3 8.8.8.8 - If 100% packet loss:
- Ensure Ethernet cable is plugged in and router provides internet.
- Enable DHCP in TP-Link router settings.
- Check Pi has IP (
ip addr), and default route (ip route).
Wi-Fi Not Working
- Add network info to
/etc/wpa_supplicant/wpa_supplicant.conftextnetwork={ ssid="YourWiFiName" psk="YourWiFiPassword" key_mgmt=WPA-PSK } - Restart Wi-Fi adapter or reboot: bash
sudo wpa_cli -i wlan0 reconfigure
Port Forwarding for Remote Access
- Log in to your TP-Link router.
- Go to Forwarding/Virtual Server.
- Set up a rule to forward a port (e.g., 8080) to your Pi’s IP and OMV’s port (default 80 or 443).
- Security Warning: Never forward SMB/CIFS ports (445, 139) directly—use VPN instead!
VPN on Router Not Supported?
- Most consumer TP-Link routers don’t offer VPN client mode.
- Run the VPN client on your Pi. Devices routed through the Pi will use the VPN.
Conclusion
A Raspberry Pi NAS with OpenMediaVault provides a flexible, low-cost network storage solution for home use. By following the steps above—and troubleshooting network, partition, and software issues as needed—any beginner can build a robust NAS. For maximum safety, always use external storage, keep OMV/networks up-to-date, and never expose your NAS to the open internet without a VPN.
If you run into issues, re-read each troubleshooting step, and use OMV/Pi forums for community help—everyone starts somewhere, and success is just a few commands away!


Hi there! Wishing you a great day ahead.
Dear Webmaster, I support quality websites through financial grants. No strings attached. If you’re looking for backing to grow your platform, I may be able to help. Please contact me on WhatsApp +79951399756